Labeling, Boxing, and Bagging
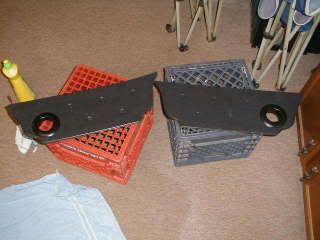
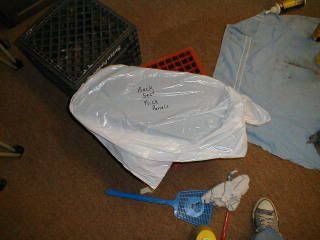
This past weekend we did a lot of cleaning and organizing of the items we'd been taking apart over the past year. My method is to clean and then bag and label the items and then pack them away in a box for later use.
Our goal with this car is to salvage as much as we can of the original car, if we can't salvage what we need from our car, we will try to find original used parts from the same approximate years from other cars. Only after everything else fails and we absolutely have to have a particular part or piece, then we'll go to new replacements.
So maintaining and cataloging the various pieces that came with the car is important to us. So, that's what we did this weekend. It was rainy and cold and it was a good thing to do inside the shop.
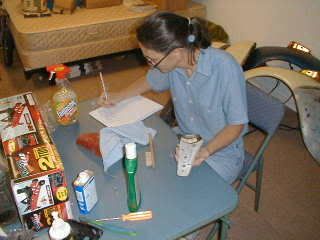
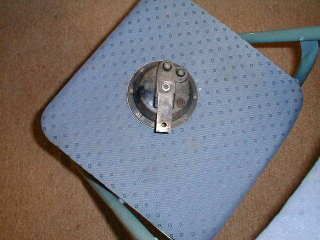
Here I am documenting how a front blinker assembly is put together. I then cleaned it and bagged it...put it in a box. (I should point out that the PO of this car must have lived on a dirt road because the car is coated with a layer of kaleechie dust..all the underneath and such.)
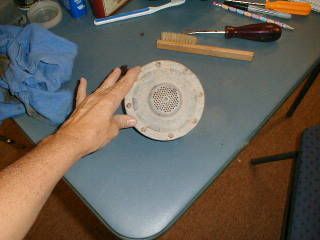
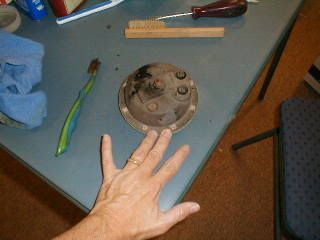
Here's the horn...front and back, before cleaning...see the kaleechie?
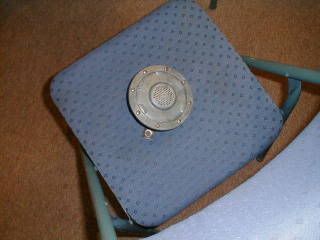
And here it is, after cleaning. I sure hope it works!
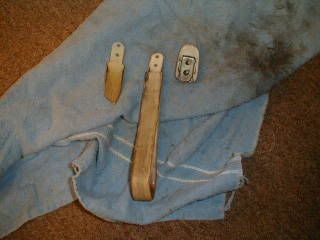
Here is one of the straps that hang down. Gross!
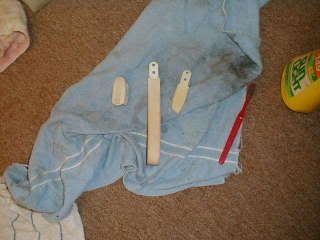
Here it is, after cleaning. That little piece is supposed to have a hook on it for you to hang your seat-belt up on, since the belts don't retract...the hook is broken off and will need to be replaced...I'll check at the salvage yards for that little piece.
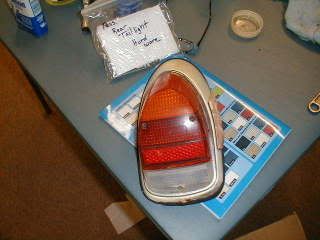
Here's the passenger side rear taillight. It's not boxed up, because it hasn't been cleaned yet, but the hardware is bagged along with instructions on how to re-assemble it.
Here is the back kick panels...this goes down behind your heals under the back seat. Heat is supposed to come through those little round holes. We're considering sealing up that heater vent when we go to put everything back together, so more heat will flow to the front of the car.
Bagged.
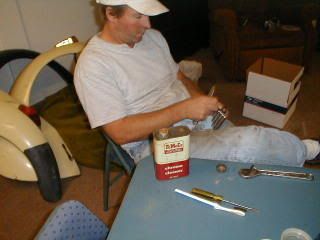
Here is Steve, cleaning the little chrome ashtray that goes in the back seat area. He got this chrome cleaning stuff from a pollution collection event and it worked great! Made that little 36 year old ashtray look brand new!
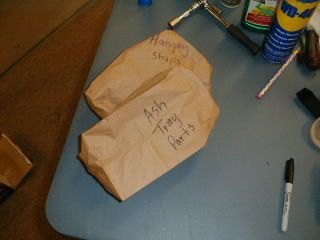
Bagged and labeled.
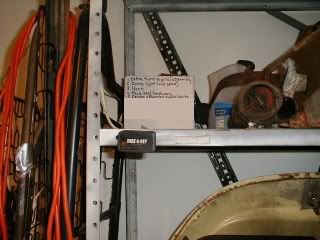
Here is a box of stuff, labeled with it's contents.
Much of what we've worked on is just preparing for the Big Event.
We have got to remove and replace the heater channel on the driver's side.
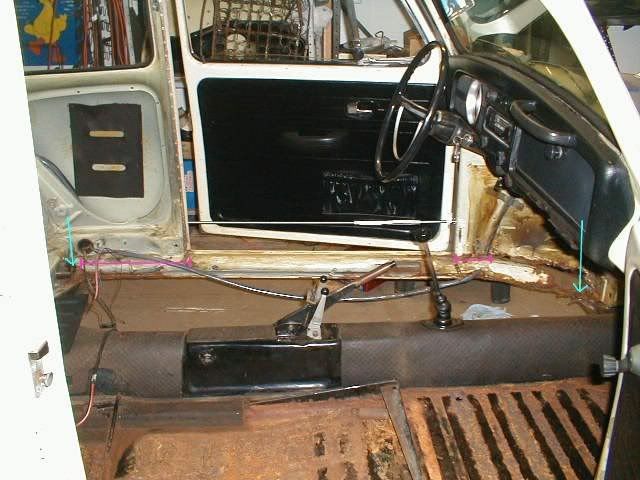
See, if you look at this picture, you will see that the heater channel is rusted completely through where it attaches to the cross support in the back and also where it attaches to the front cross support. (See blue arrows.) That basically means that the heater channel, the main structural part of the car along the side, is only attached at the points where the two pink bars are. Not good. The car sags on that side and the door doesn't shut well.
Note that bolt that runs clear across the door opening? Steve jacked the car up where it was sagging until the door shut properly and then bolted the door in that position. We hope that when we cut that channel off (the entire channel must be removed), the door will maintain it's position. We'll be able to tweak it as we go along, hopefully.
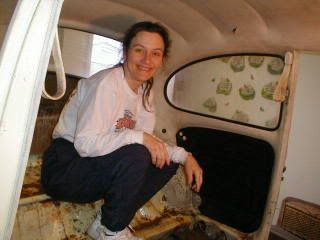
Also, a fun thing...when we first got the car, I found the original horn ring and button in the back. I put it aside and when we were cleaning up, I went ahead and re-attached it, just to see what it looks like. You can see it in the picture above. I think it looks pretty good!
Our goal with this car is to salvage as much as we can of the original car, if we can't salvage what we need from our car, we will try to find original used parts from the same approximate years from other cars. Only after everything else fails and we absolutely have to have a particular part or piece, then we'll go to new replacements.
So maintaining and cataloging the various pieces that came with the car is important to us. So, that's what we did this weekend. It was rainy and cold and it was a good thing to do inside the shop.
Here I am documenting how a front blinker assembly is put together. I then cleaned it and bagged it...put it in a box. (I should point out that the PO of this car must have lived on a dirt road because the car is coated with a layer of kaleechie dust..all the underneath and such.)
Here's the horn...front and back, before cleaning...see the kaleechie?
And here it is, after cleaning. I sure hope it works!
Here is one of the straps that hang down. Gross!
Here it is, after cleaning. That little piece is supposed to have a hook on it for you to hang your seat-belt up on, since the belts don't retract...the hook is broken off and will need to be replaced...I'll check at the salvage yards for that little piece.
Here's the passenger side rear taillight. It's not boxed up, because it hasn't been cleaned yet, but the hardware is bagged along with instructions on how to re-assemble it.
Here is the back kick panels...this goes down behind your heals under the back seat. Heat is supposed to come through those little round holes. We're considering sealing up that heater vent when we go to put everything back together, so more heat will flow to the front of the car.
Bagged.
Here is Steve, cleaning the little chrome ashtray that goes in the back seat area. He got this chrome cleaning stuff from a pollution collection event and it worked great! Made that little 36 year old ashtray look brand new!
Bagged and labeled.
Here is a box of stuff, labeled with it's contents.
Much of what we've worked on is just preparing for the Big Event.
We have got to remove and replace the heater channel on the driver's side.
See, if you look at this picture, you will see that the heater channel is rusted completely through where it attaches to the cross support in the back and also where it attaches to the front cross support. (See blue arrows.) That basically means that the heater channel, the main structural part of the car along the side, is only attached at the points where the two pink bars are. Not good. The car sags on that side and the door doesn't shut well.
Note that bolt that runs clear across the door opening? Steve jacked the car up where it was sagging until the door shut properly and then bolted the door in that position. We hope that when we cut that channel off (the entire channel must be removed), the door will maintain it's position. We'll be able to tweak it as we go along, hopefully.
Also, a fun thing...when we first got the car, I found the original horn ring and button in the back. I put it aside and when we were cleaning up, I went ahead and re-attached it, just to see what it looks like. You can see it in the picture above. I think it looks pretty good!
posted by Kim In Tulsa at
11:26 AM
![]()

0 Comments:
Post a Comment
<< Home