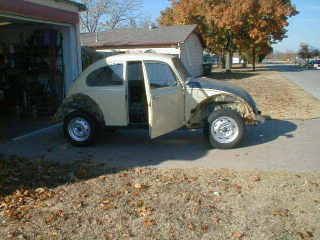
Body off!
This past weekend we had a four-day holiday because of Thanksgiving. The weather was just great all weekend and we took the opportunity to get a lot done!
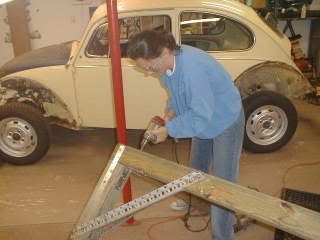
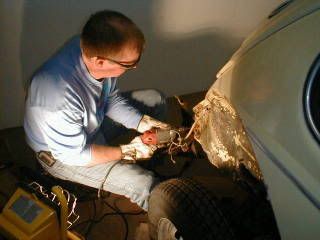
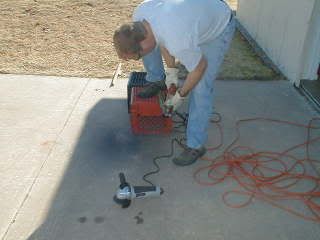
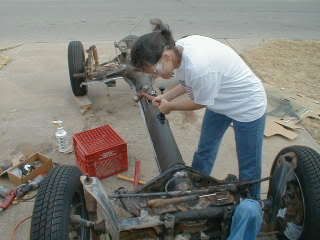
We got the sawhorses finished and were just about ready to put the body up on them when Steve decided that the brace that he'd put in the driver's side door was inadequate. So he cut a piece of t-post (that was used to fence in our chicken run, before the dog killed all our chickens) and shaped it just right to fit inside the driver's side door.
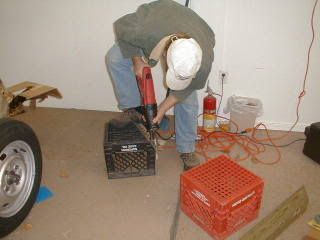
Here he is, cutting the t-post...
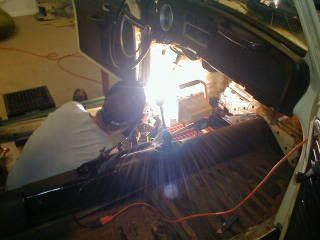
And welding it into place...
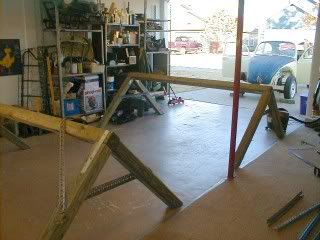
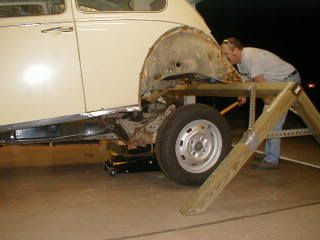
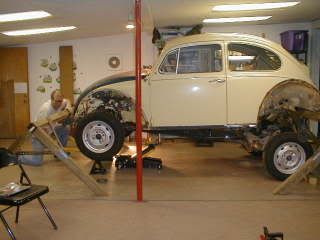
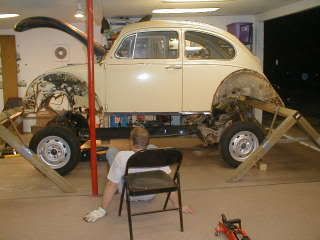
After making sure we got everything unbolted, we proceeded to lift the body up in the back, just like Rick Higgins and his boys showed in the Bug Me videos...thanks to Tom, a fellow member of the Tulsa VW Club, for letting us borrow the Bug Me videos! They are fantastic, extremely helpful and I highly recommend them.
Here I am, slowly jacking up the back end of the car...first we jacked the entire car up...
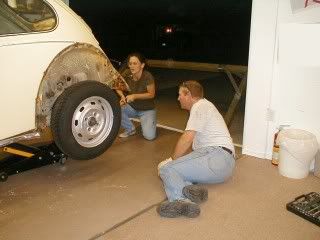
Once we got the back of the car on the sawhorse, we slowly lowered the chassis down...
Down!
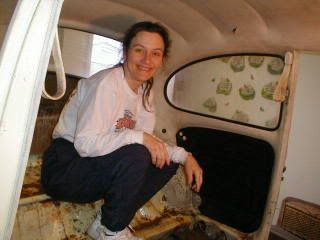
The back down, from the back...
As we were lowering down the back of the chassis, we heard the car make the loudest noises it's ever made since we got it. It really creaked! Heh!
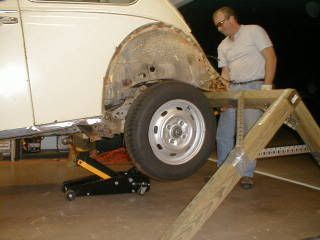
Ok, here's the front being lifted up. The goal was to set it up on the bumper brackets, just like Mr. Higgins did.
Then the chassis was lowered down in the front. As we were lowering it, we realized we forgot to undo the brake lights from the master cylinder. We caught it before any harm was done, because we were watching it very closely. It wasn't Mr. Higgins' fault! His son *told* us to disconnect those brake lights! Heh!
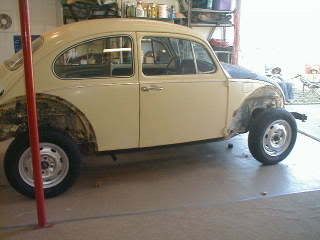
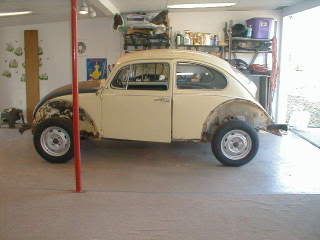
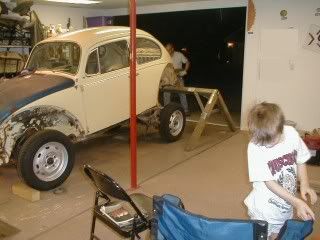
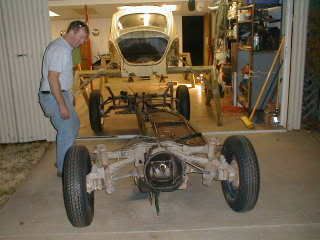
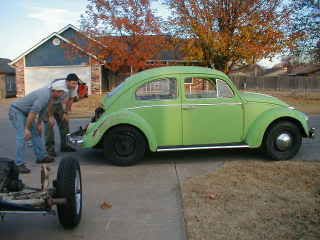
Then, we just rolled that chassis out!
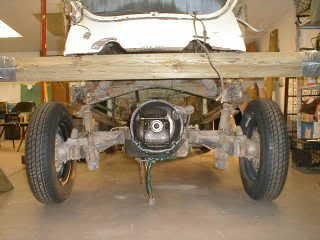
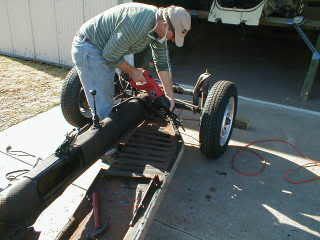
The next day, we set to cleaning up the chassis, getting it ready for a new front support beam (Napoleon's Cap) and new floor pans. Steve had already removed the driver's side floor pan, so he started on the passenger side pan, using a Sawzall that my friend Lisa let us borrow.
It's off!
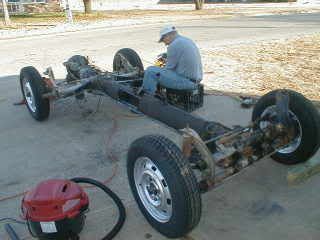
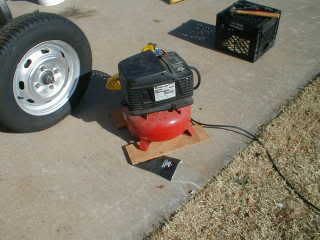
Our neighbor came over and lent us his little air compressor to help keep things clean.
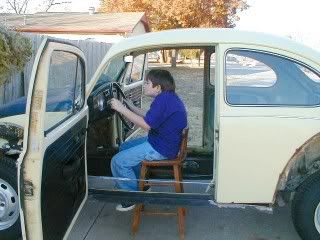
As we were winding down for the day, a neighbor named Ron drove up in his newly purchased 1963 Type 1.
It was nice to meet a fellow enthusiast and he was kind enough to let me beep the horn. I loved the beep-beep it made! Then! He actually let me drive the car around in the neighborhood!!! I'd only ever just ridden briefly in a Beetle twice in my life, and this kind fellow let me drive his! I drove it around my neighborhood and beep-beeped the horn at everyone I saw. I even saw the lady in the maroon Passat that always smiles and waves at me when I'm working in the shop driveway...she got a great big smile on her face when she saw me and I beep-beeped at her! Ha!
The next day, the boys really got to work helping us clean up the chassis. I think they were both pretty impressed with seeing that body come off the chassis. It was filthy, just like the rest of the car...had an inch or so of mud and oil caked on it in some spots.
Here is Joshua, my eight-year-old, removing a dirtdobber nest.
Got it!
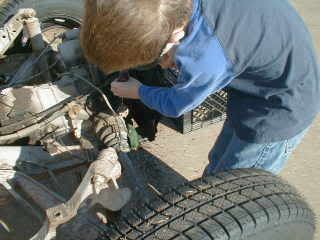
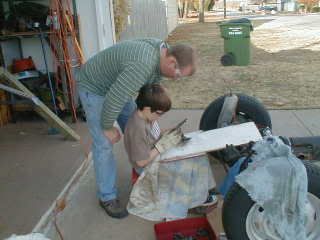
Here, Steve is showing Matthew, my eleven-year-old, how to apply vice grips to a part he wants cleaned with the wire-brush attachment on the drill.
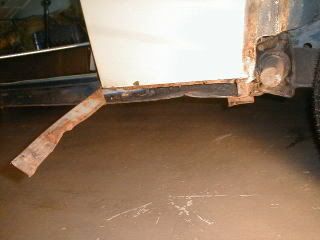
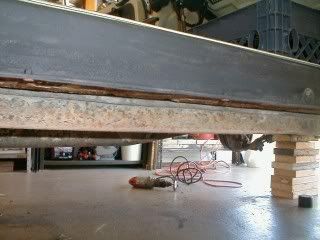
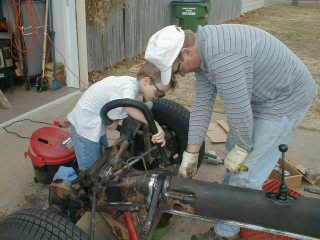
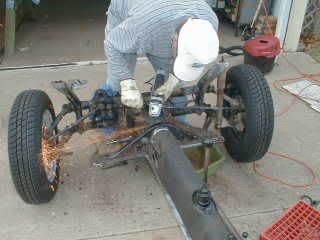
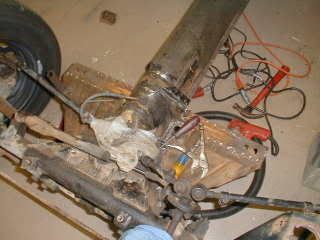
Steve worked on getting that Napoleon's Hat off. He used a special drill bit to drill out the spot welds without damaging the front frame plate underneath the support beam.
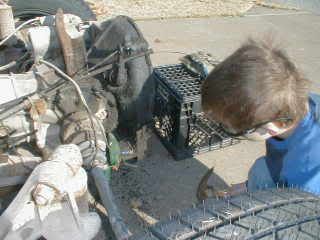
Here's Joshua, helping keep the metal shavings cleaned up...
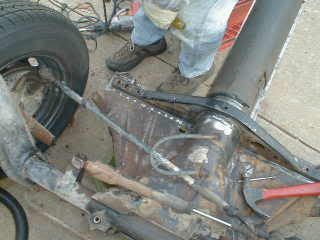
See the drilled-out spot welds?
The spot welds were the easy part...removing the beam where it attached to chassis tunnel took an act of Congress. It was solidly welded.
I thought maybe if I banged on it...
That was fun, but didn't help much...
Steve finally got it though...here it is, almost out.
We got the sawhorses finished and were just about ready to put the body up on them when Steve decided that the brace that he'd put in the driver's side door was inadequate. So he cut a piece of t-post (that was used to fence in our chicken run, before the dog killed all our chickens) and shaped it just right to fit inside the driver's side door.
Here he is, cutting the t-post...
And welding it into place...
After making sure we got everything unbolted, we proceeded to lift the body up in the back, just like Rick Higgins and his boys showed in the Bug Me videos...thanks to Tom, a fellow member of the Tulsa VW Club, for letting us borrow the Bug Me videos! They are fantastic, extremely helpful and I highly recommend them.
Here I am, slowly jacking up the back end of the car...first we jacked the entire car up...
Once we got the back of the car on the sawhorse, we slowly lowered the chassis down...
Down!
The back down, from the back...
As we were lowering down the back of the chassis, we heard the car make the loudest noises it's ever made since we got it. It really creaked! Heh!
Ok, here's the front being lifted up. The goal was to set it up on the bumper brackets, just like Mr. Higgins did.
Then the chassis was lowered down in the front. As we were lowering it, we realized we forgot to undo the brake lights from the master cylinder. We caught it before any harm was done, because we were watching it very closely. It wasn't Mr. Higgins' fault! His son *told* us to disconnect those brake lights! Heh!
Then, we just rolled that chassis out!
The next day, we set to cleaning up the chassis, getting it ready for a new front support beam (Napoleon's Cap) and new floor pans. Steve had already removed the driver's side floor pan, so he started on the passenger side pan, using a Sawzall that my friend Lisa let us borrow.
It's off!
Our neighbor came over and lent us his little air compressor to help keep things clean.
As we were winding down for the day, a neighbor named Ron drove up in his newly purchased 1963 Type 1.
It was nice to meet a fellow enthusiast and he was kind enough to let me beep the horn. I loved the beep-beep it made! Then! He actually let me drive the car around in the neighborhood!!! I'd only ever just ridden briefly in a Beetle twice in my life, and this kind fellow let me drive his! I drove it around my neighborhood and beep-beeped the horn at everyone I saw. I even saw the lady in the maroon Passat that always smiles and waves at me when I'm working in the shop driveway...she got a great big smile on her face when she saw me and I beep-beeped at her! Ha!
The next day, the boys really got to work helping us clean up the chassis. I think they were both pretty impressed with seeing that body come off the chassis. It was filthy, just like the rest of the car...had an inch or so of mud and oil caked on it in some spots.
Here is Joshua, my eight-year-old, removing a dirtdobber nest.
Got it!
Here, Steve is showing Matthew, my eleven-year-old, how to apply vice grips to a part he wants cleaned with the wire-brush attachment on the drill.
Steve worked on getting that Napoleon's Hat off. He used a special drill bit to drill out the spot welds without damaging the front frame plate underneath the support beam.
Here's Joshua, helping keep the metal shavings cleaned up...
See the drilled-out spot welds?
The spot welds were the easy part...removing the beam where it attached to chassis tunnel took an act of Congress. It was solidly welded.
I thought maybe if I banged on it...
That was fun, but didn't help much...
Steve finally got it though...here it is, almost out.
posted by Kim In Tulsa at
7:27 AM
|
2 comments
![]()